

Yoga has emerged as one of the most transformative wellness practices of our time, offering a perfect blend of physical strengthening, mental clarity, and spiritual connection. Whether you’re seeking relief from chronic pain, improved flexibility, or simply a moment of peace in your busy day, the ancient art of yoga provides countless poses and sequences to support your unique wellness journey.
Research shows that regular yoga practice can reduce chronic pain by up to 40% and significantly improve quality of life markers¹. This comprehensive guide will explore the most effective yoga poses across different skill levels, therapeutic applications, and specialised practices to help you build a sustainable and rewarding yoga routine.
Starter Yoga Stretches, Stretch Names and Their Benefits
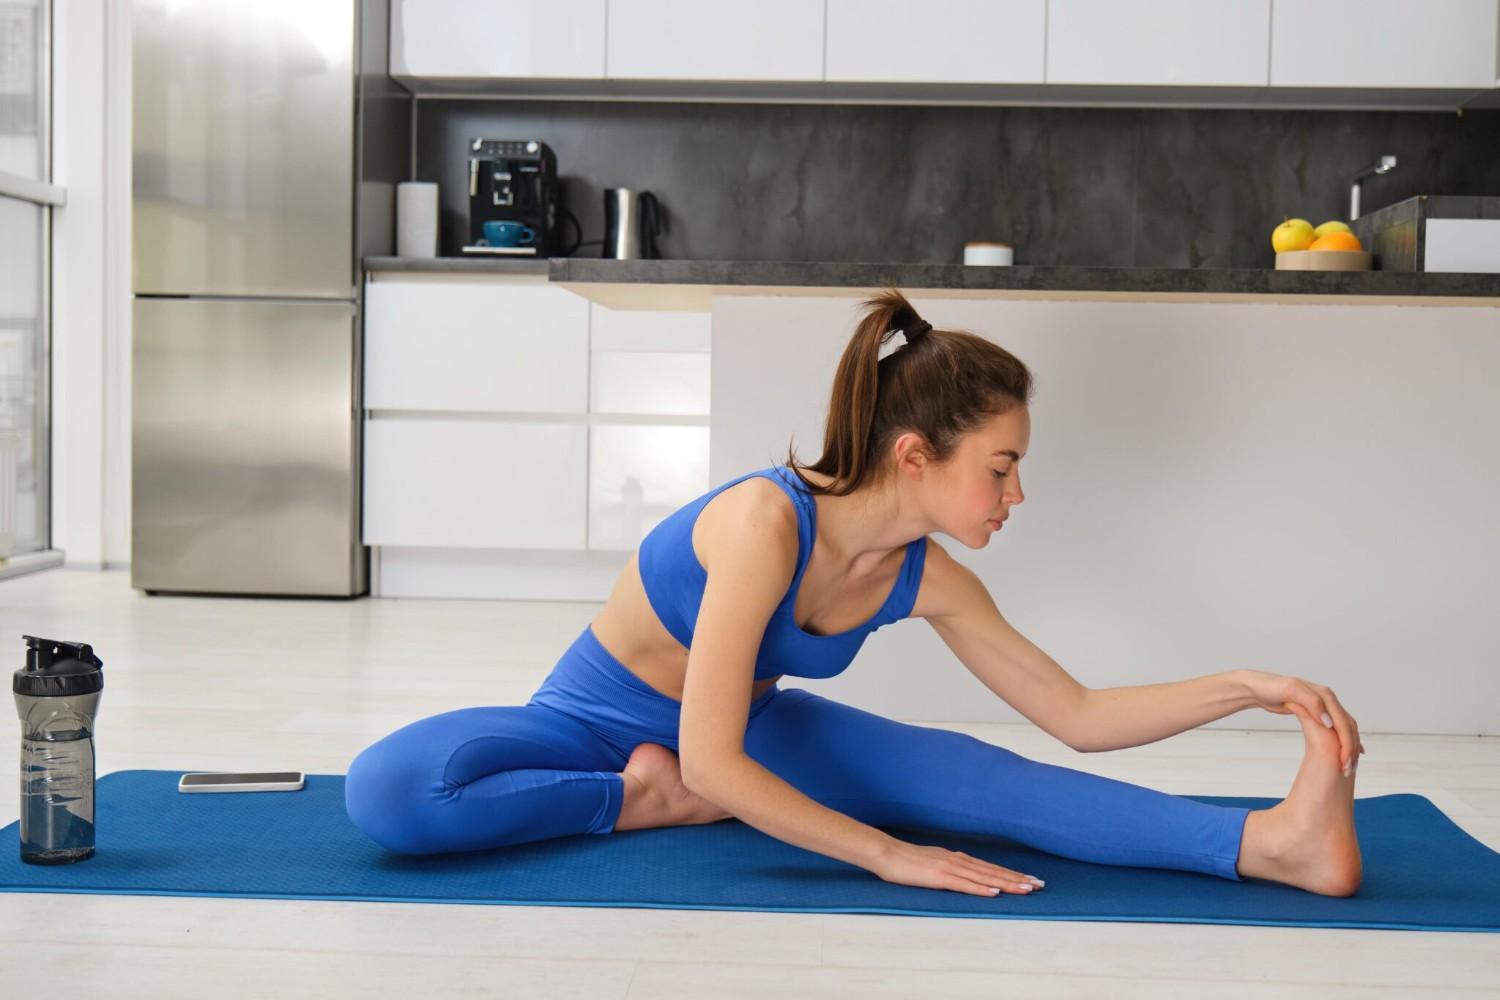
Understanding yoga stretch names forms the foundation of any successful practice. Each pose carries both Sanskrit and English names, reflecting thousands of years of yogic tradition while remaining accessible to modern practitioners.
Studies indicate that practitioners who learn proper pose names and alignment principles experience 60% fewer yoga-related injuries compared to those who practice without guidance². This statistic underscores the importance of understanding fundamental yoga stretch names and their proper execution.
1. The Cobra Pose
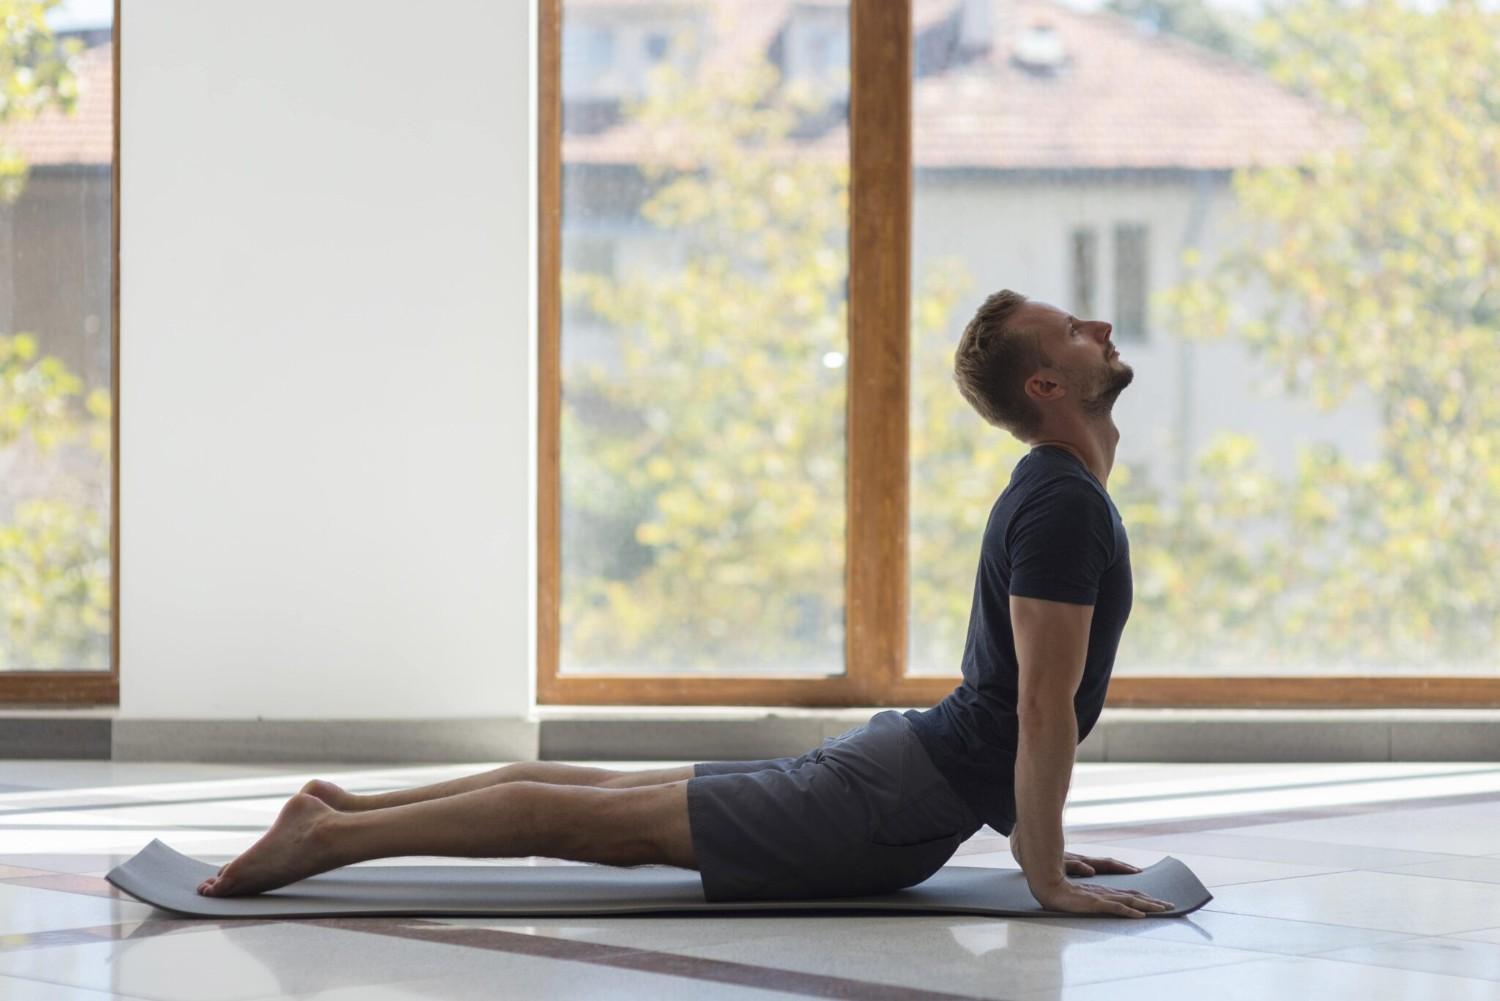
The cobra pose (Bhujangasana) stands as one of the most recognisable backbends, offering powerful benefits for spinal health and heart opening. This foundational yoga poses cobra variation strengthens the entire back body while counteracting the forward posture many of us maintain throughout the day.
How to Do Cobra Pose (Bhujangasana) in 5 Steps
Step 1: Start Prone
Lie face down with your forehead on the mat. Place palms under shoulders, legs extended straight back.
Step 2: Engage Foundation
Press pubic bone down and engage leg muscles. Keep tops of feet flat on the floor.
Step 3: Lift with Back Muscles
Use your back muscles to lift your head, chest, and upper abdomen. Keep shoulders away from ears.
Step 4: Light Hand Support
Press palms gently into mat for support, but let your back muscles do most of the work. Keep elbows close to body.
Step 5: Hold and Breathe
Hold for 15-30 seconds with steady breathing. Lower slowly with control.
2. The Pigeon Pose
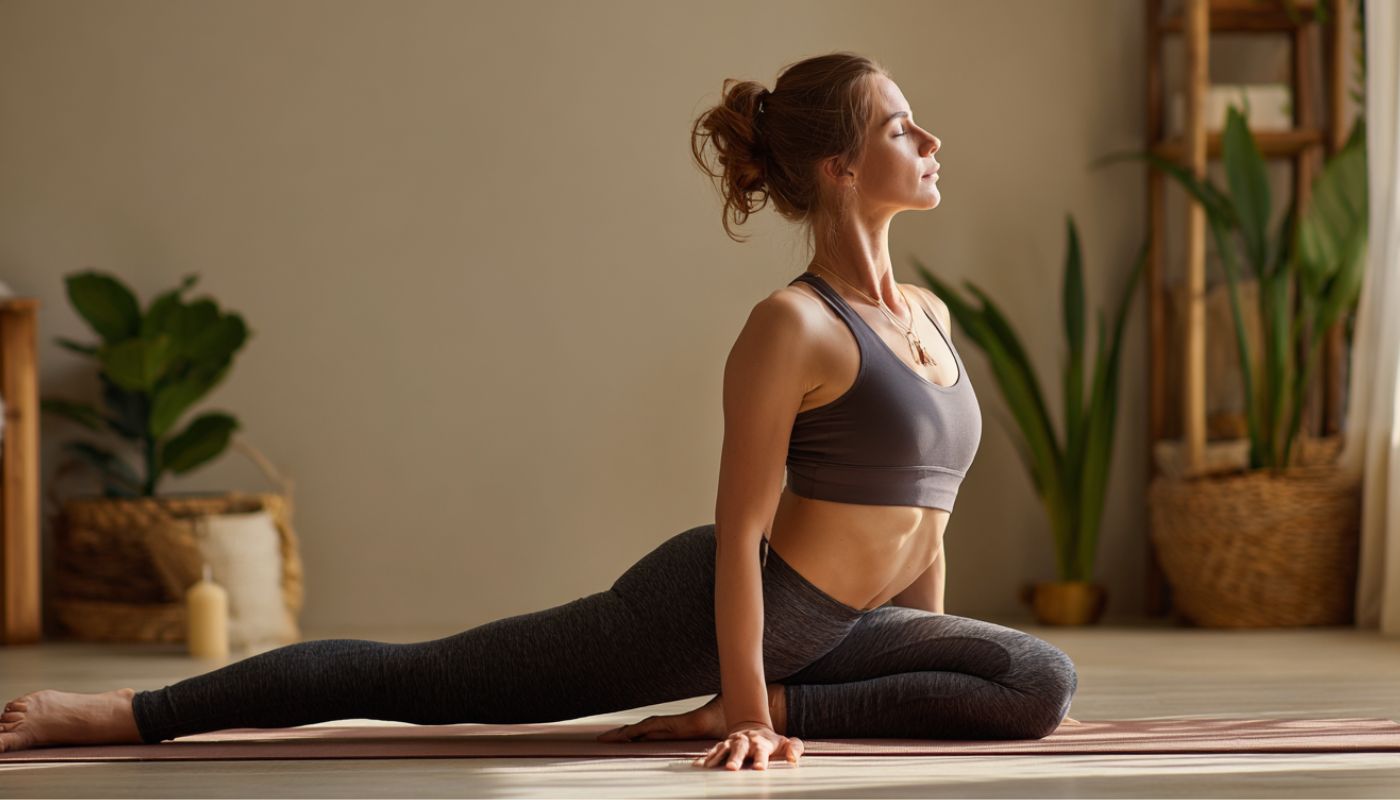
Pigeon pose (Pada Rajakapotasana) represents one of the most effective hip-opening sequences available. The yoga poses pigeon variation provides deep release for tight hip flexors, which commonly contribute to lower back tension and reduced mobility. Regular practice of this pose can significantly improve your overall flexibility and reduce discomfort from prolonged sitting.
How to Do Pigeon Pose (Pada Rajakapotasana) in 5 Steps
Step 1: Start from Downward Dog
Begin in downward-facing dog or tabletop position on hands and knees.
Step 2: Bring Front Leg Forward
Draw your right knee toward your right wrist. Place your right shin on the mat with your foot flexed, creating a diagonal line from knee to ankle.
Step 3: Extend Back Leg
Slide your left leg straight back, keeping the top of your foot and thigh on the mat. Square your hips toward the front of the mat.
Step 4: Settle and Adjust
Lower your hips toward the floor, using props under your right hip if needed. Keep your torso upright or fold forward over your front leg.
Step 5: Hold and Switch
Hold for 1-3 minutes with steady breathing. Slowly transition out and repeat on the left side.
3. The Lotus Pose
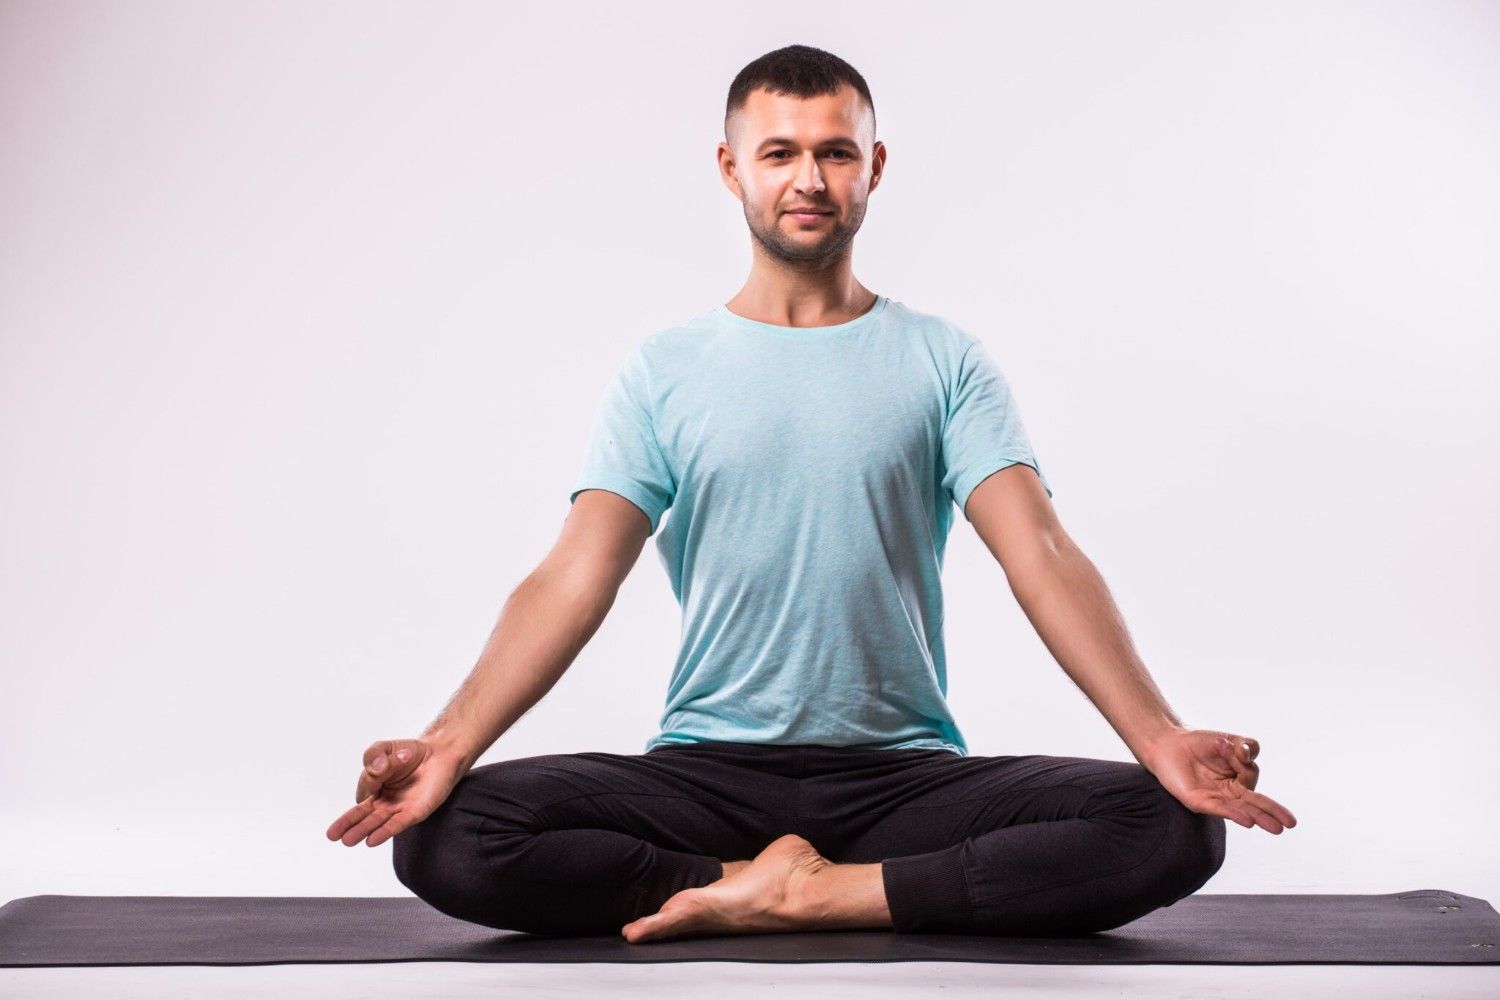
The lotus pose (Padmasana) serves as the quintessential meditation posture, though it requires considerable hip flexibility and should be approached gradually. Yoga poses lotus variations offer profound benefits for mental focus and can help establish a consistent meditation practice.
Step 1: Sit Cross-Legged
Begin sitting comfortably cross-legged on your mat. Sit on a cushion or folded blanket to elevate your hips above your knees.
Step 2: Place Right Foot
Gently lift your right foot and place it on top of your left thigh, bringing the sole of the foot to face upward. The foot should rest in the hip crease.
Step 3: Place Left Foot
Carefully lift your left foot and place it on top of your right thigh, sole facing upward. Both feet should rest in the opposite hip creases.
Step 4: Adjust Posture
Lengthen your spine, relax your shoulders, and place your hands on your knees or in a mudra position. Keep your chin parallel to the floor.
Step 5: Hold and Breathe
Hold for 30 seconds to several minutes with deep, steady breathing. Release slowly and switch the crossing of your legs.
Comprehensive Yoga Stretch Exercises for Full-Body Wellness
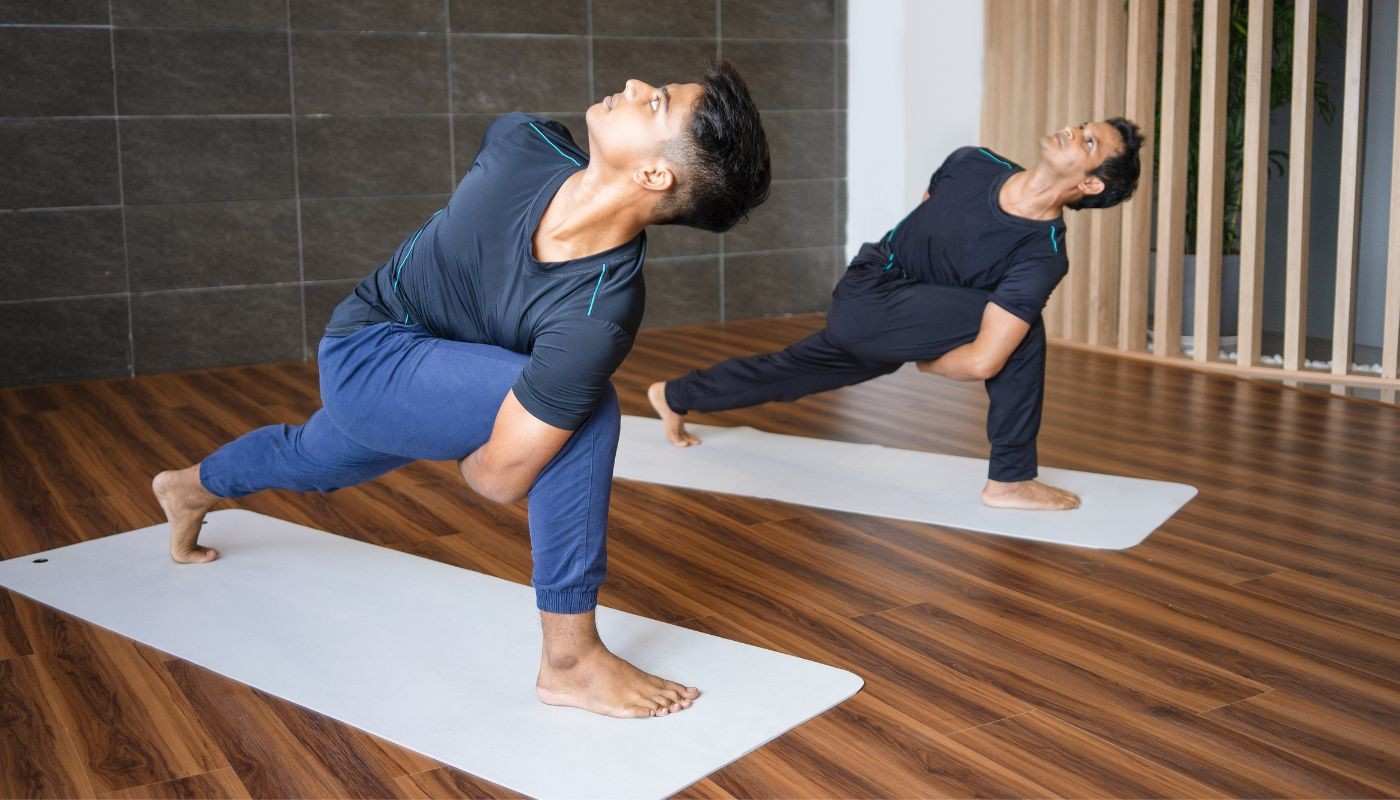
Effective yoga stretch exercises should address all major muscle groups while promoting balance, strength, and flexibility. A well-rounded practice incorporates standing poses, seated stretches, backbends, forward folds, and twisting movements to ensure complete body engagement.
Essential Daily Yoga Stretch Exercises:
1. Mountain Pose (Tadasana):
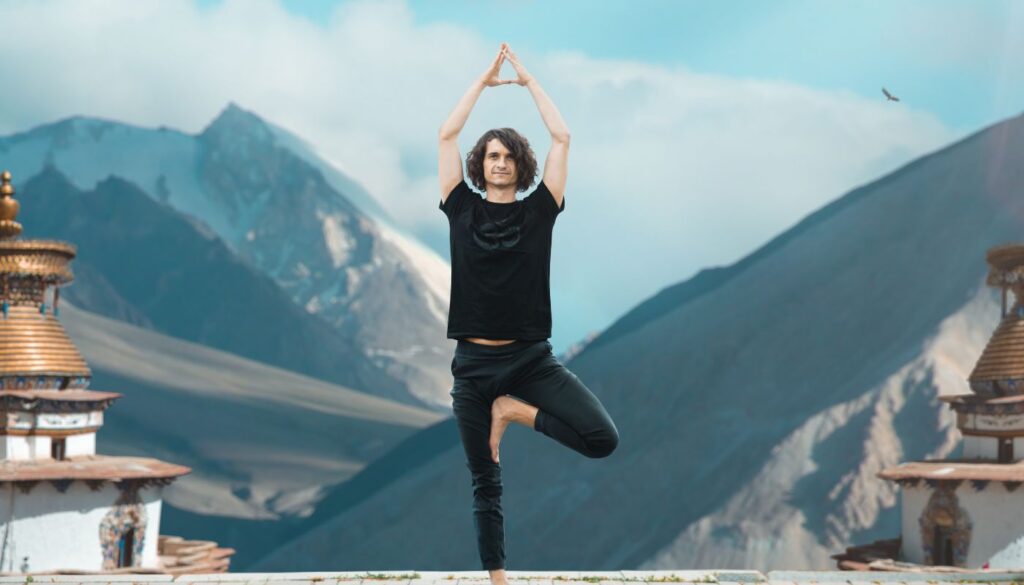
It establishes proper alignment and serves as the foundation for all standing poses, promoting better posture throughout your day
How to Do Mountain Pose (Tadasana) in 5 Steps
Step 1: Stand with Feet Parallel
Stand with your feet hip-width apart and parallel to each other. Distribute your weight evenly between both feet and across the entire sole of each foot.
Step 2: Ground Through Your Feet
Press all four corners of your feet into the floor. Gently engage your leg muscles by lifting your kneecaps without locking your knees.
Step 3: Lengthen Your Spine
Draw your tailbone slightly down while lifting the crown of your head toward the ceiling. Create space between each vertebra, lengthening through the entire spine.
Step 4: Relax Shoulders and Arms
Roll your shoulders up, back, and down. Let your arms hang naturally at your sides with palms facing forward. Keep your neck long and chin parallel to the floor.
Step 5: Breathe and Be Present
Close your eyes or soften your gaze. Take deep, steady breaths and feel your connection to the ground while reaching upward through the top of your head.
2. Downward-Facing Dog (Adho Mukha Svanasana):
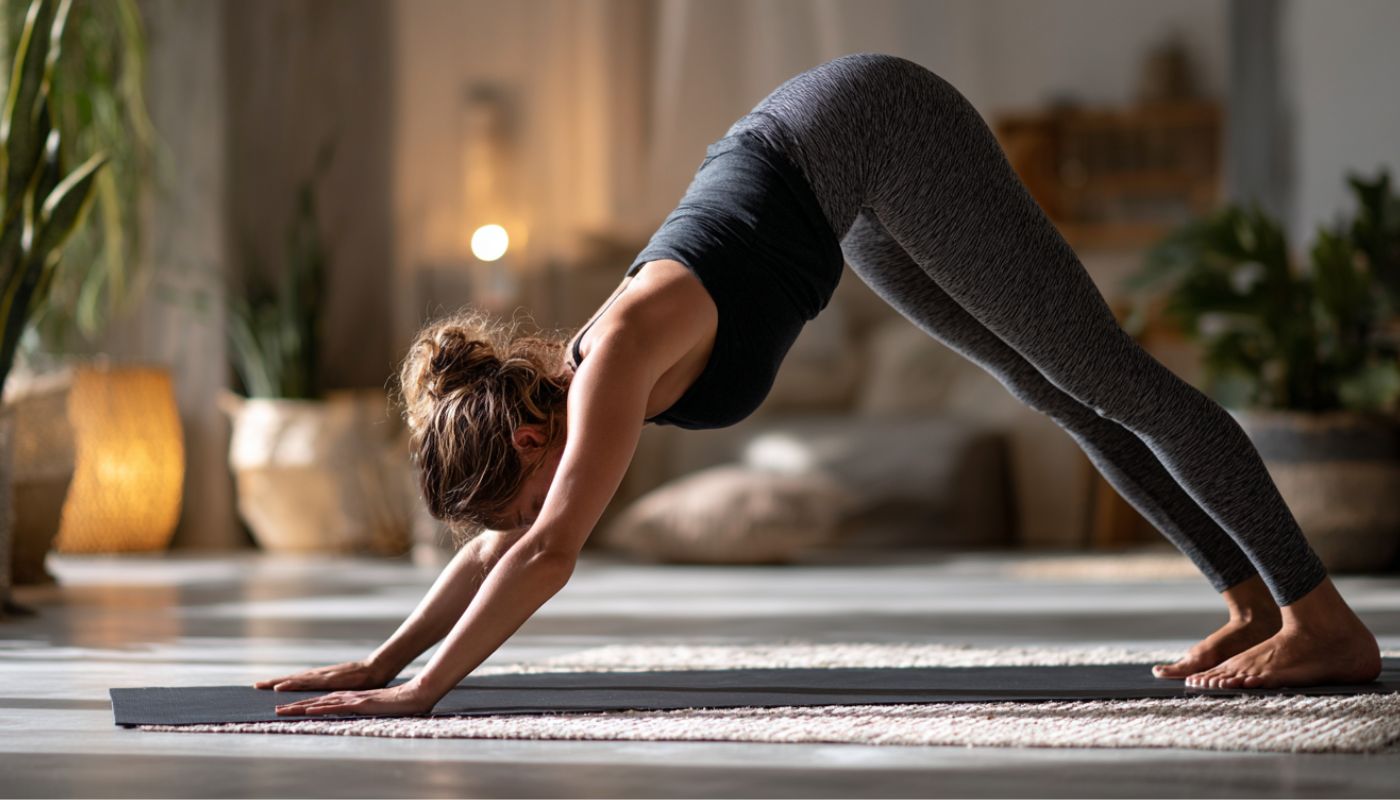
It lengthens the spine, strengthens the arms and shoulders, and provides a gentle inversion that improves circulation
How to Do Downward-Facing Dog (Adho Mukha Svanasana) in 5 Steps
Step 1: Start on Hands and Knees
Begin in tabletop position with hands directly under shoulders and knees under hips. Spread your fingers wide and press palms firmly into the mat.
Step 2: Tuck Toes Under
Curl your toes under and press them into the mat. Keep your hands rooted and fingers spread for a strong foundation.
Step 3: Lift Your Hips Up
Straighten your legs and lift your hips up and back, creating an inverted V-shape with your body. Keep your hands firmly planted.
Step 4: Create Length and Alignment
Press your hands down while reaching your sitting bones toward the ceiling. Keep your head relaxed between your arms with ears aligned between your biceps.
Step 5: Ground and Breathe
Press your heels toward the floor (they don’t need to touch). Hold for 30 seconds to 2 minutes with steady breathing, pedaling feet gently if needed.
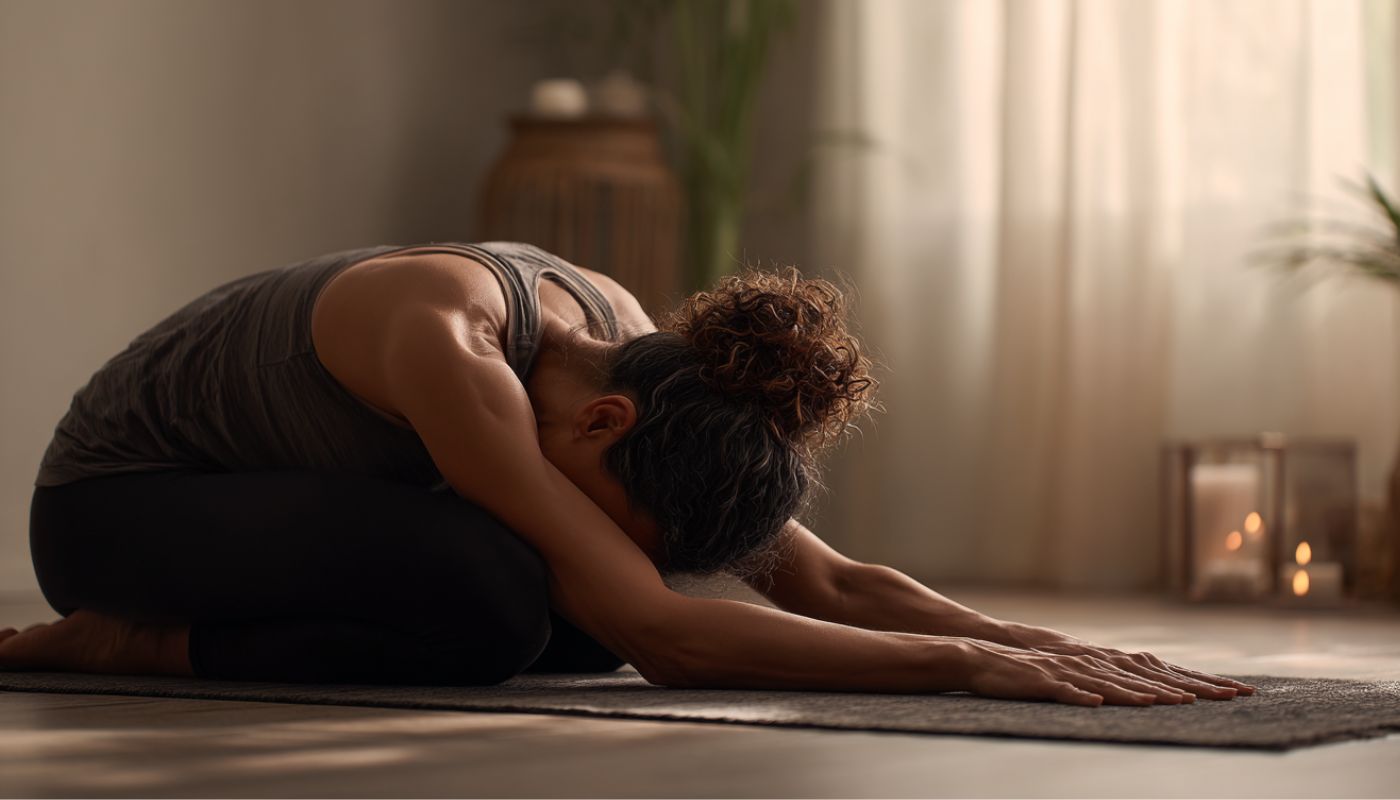
3. Child's Pose (Balasana):
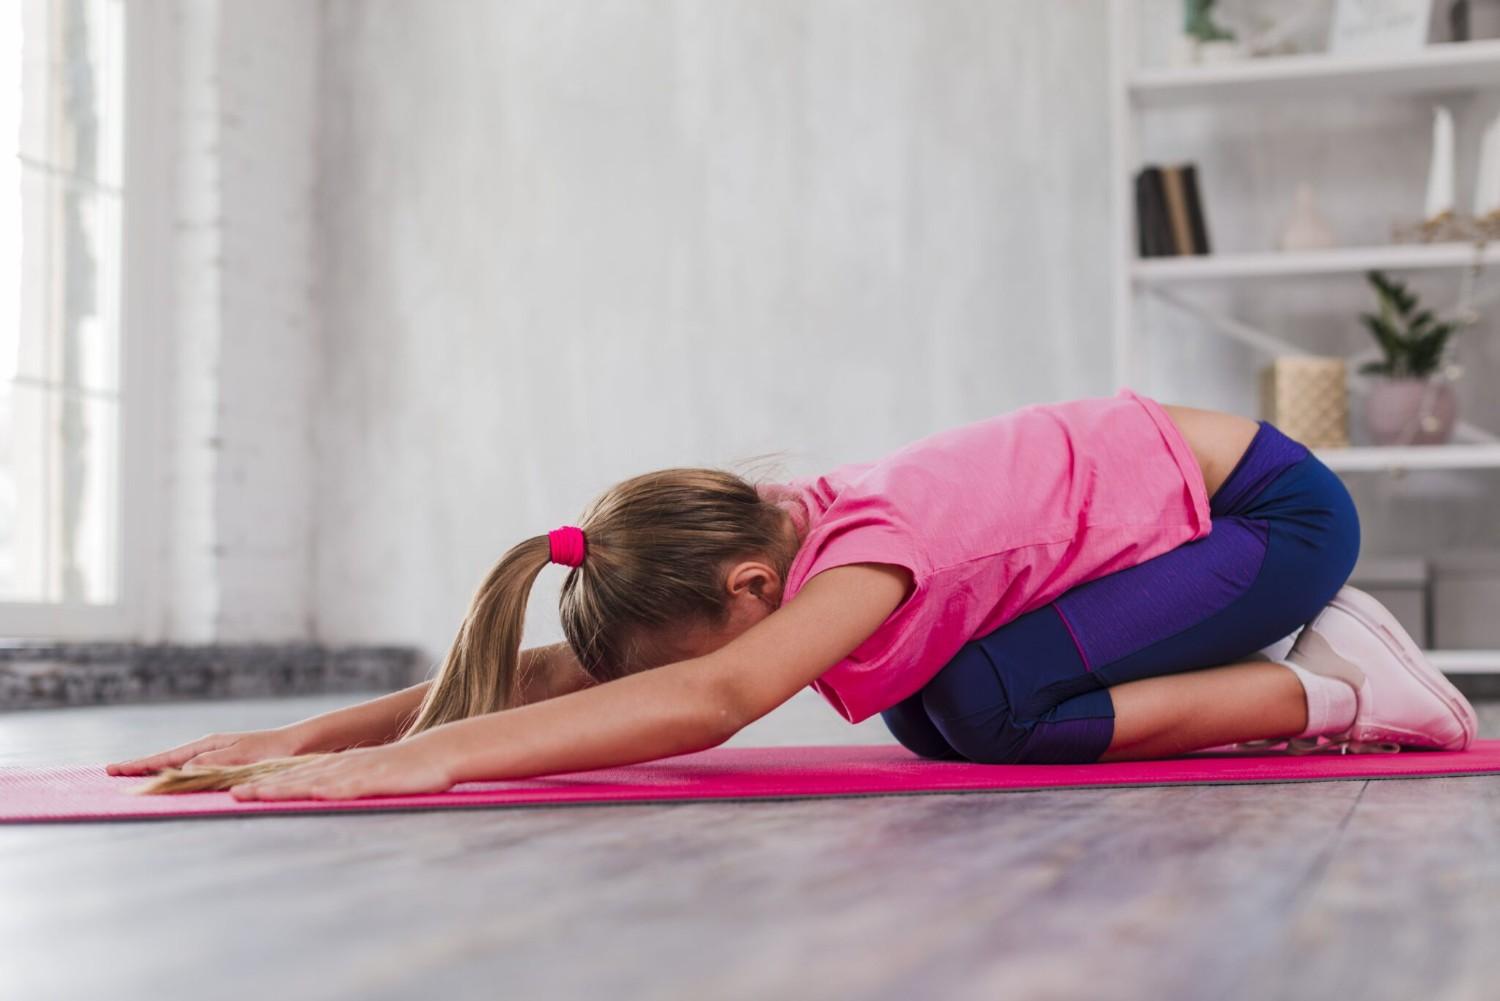
This pose offers deep relaxation for the nervous system while gently stretching the hips, thighs, and ankles
How to Do Child’s Pose (Balasana) in 5 Steps
Step 1: Start Kneeling
Begin kneeling on your mat with your shins on the floor. Touch your big toes together behind you.
Step 2: Separate Your Knees
Open your knees about hip-width apart or wider for comfort. This creates space for your torso to fold forward.
Step 3: Sit Back on Your Heels
Lower your hips back toward your heels. If this is uncomfortable, place a cushion or bolster between your calves and thighs.
Step 4: Fold Forward
Hinge at your hips and fold your torso forward, extending your arms in front of you. Rest your forehead on the mat with arms stretched ahead or alongside your body.
Step 5: Relax and Breathe
Close your eyes and take slow, deep breaths. Hold for 30 seconds to several minutes, allowing your body to completely relax into the pose.
4. Cat-Cow Stretch (Marjaryasana-Bitilasana):
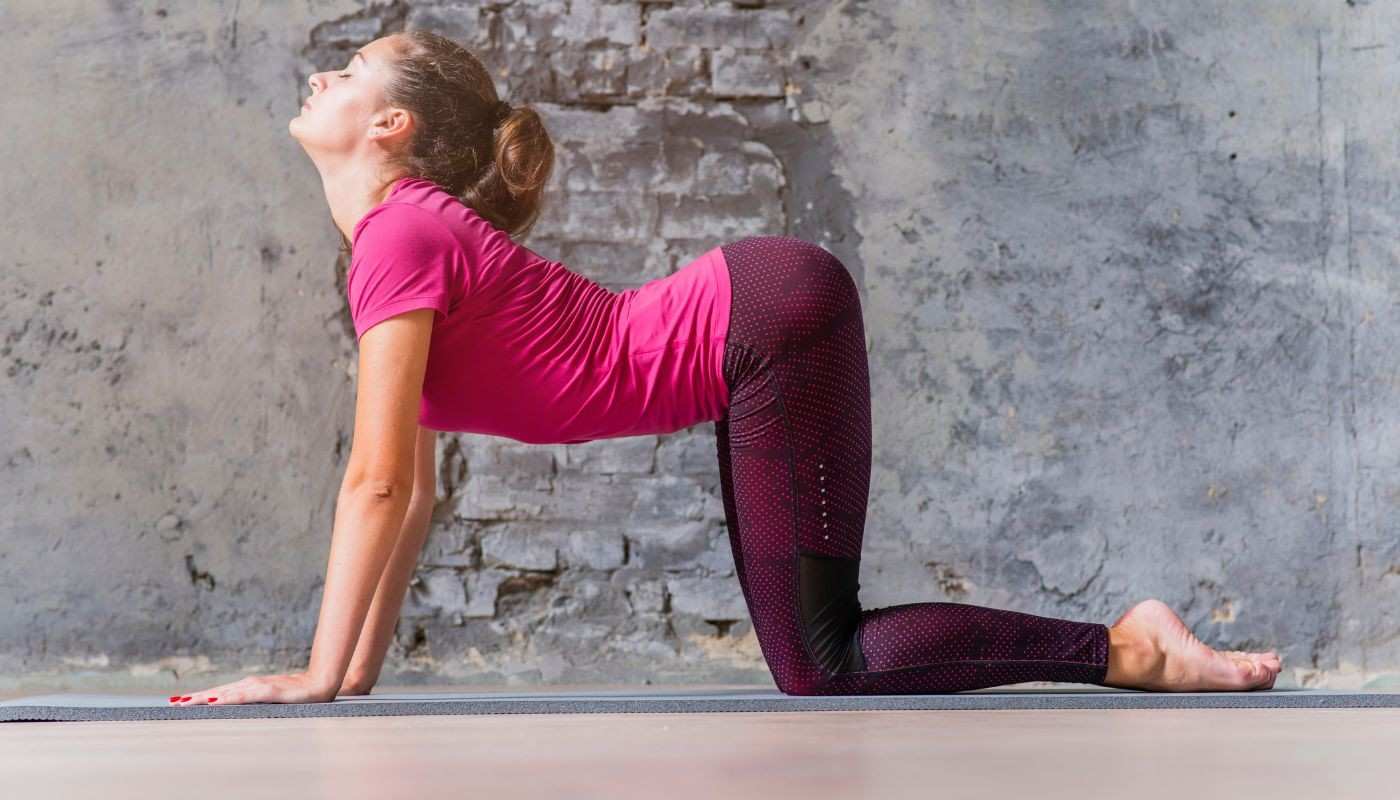
This pose mobilises the spine through flexion and extension, promoting healthy movement patterns and relieving tension.
How to Do Cat-Cow Stretch (Marjaryasana-Bitilasana) in 5 Steps
Step 1: Start in Tabletop Position
Begin on your hands and knees with wrists directly under shoulders and knees under hips. Keep your spine in neutral alignment.
Step 2: Move into Cow Pose
Inhale and drop your belly toward the mat while lifting your chest and tailbone toward the ceiling. Gently arch your back and look up slightly.
Step 3: Transition to Cat Pose
Exhale and round your spine toward the ceiling like an angry cat. Draw your belly button to your spine and let your head drop naturally between your arms.
Step 4: Create Flowing Movement
Continue moving slowly between Cat and Cow poses, coordinating the movement with your breath. Inhale into Cow, exhale into Cat.
Step 5: Repeat and Rest
Flow between the poses for 5-10 breaths, moving at your own pace. Return to neutral tabletop position when finished.
5.Warrior I (Virabhadrasana I):
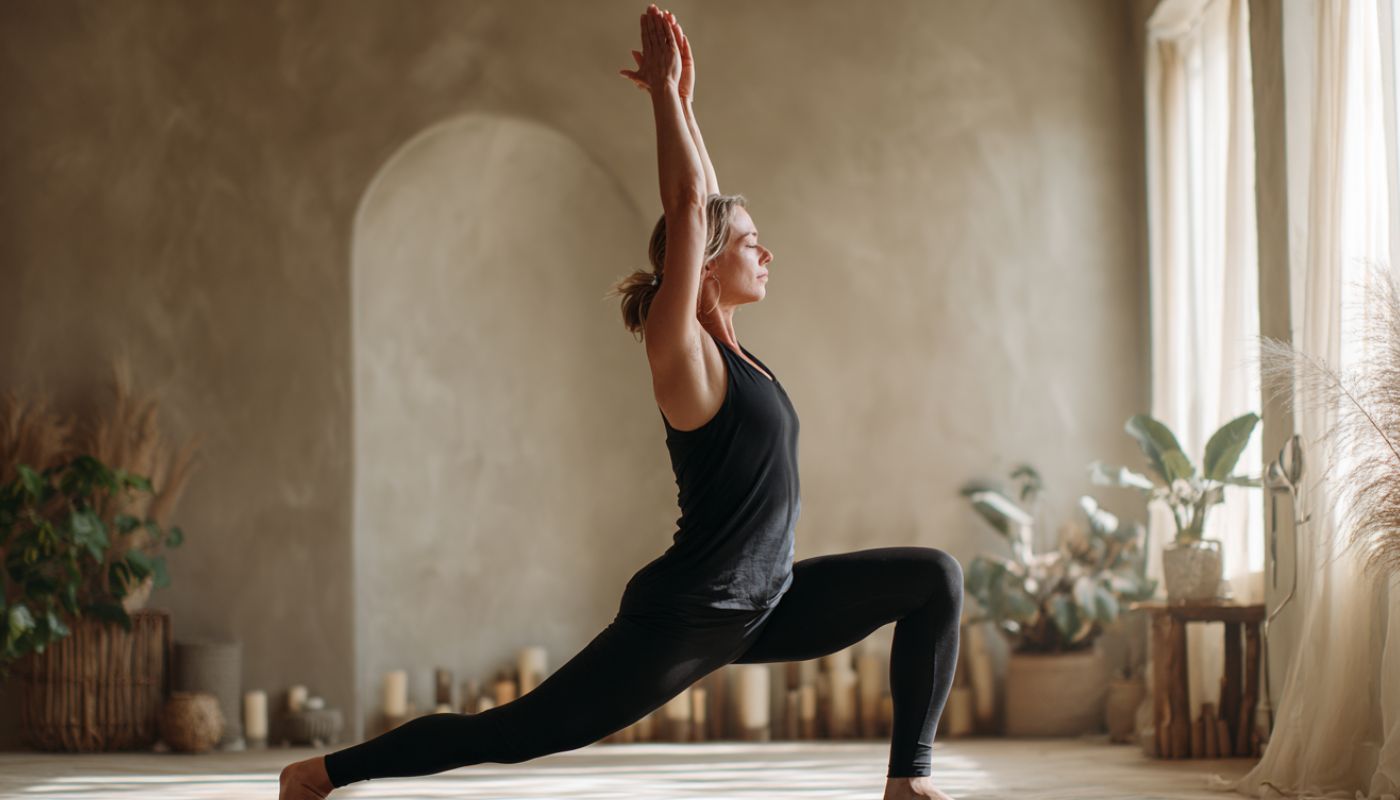
This pose builds strength in the legs and core while opening the hip flexors and promoting confident, grounded energy. The warrior poses (Virabhadrasana series) deserve special attention as foundational yoga poses warrior variations that build both physical and mental strength. These poses teach us to find stability while reaching toward our goals, making them particularly valuable for stress management and confidence building.
How to Do Warrior I (Virabhadrasana I) in 5 Steps
Step 1: Step Into Wide Stance
From Mountain Pose, step your left foot back 3-4 feet. Turn your back foot out at a 45-degree angle, keeping your front foot pointing straight ahead.
Step 2: Ground Your Feet
Press firmly through both feet. Keep your front heel aligned with your back heel or slightly wider for better balance.
Step 3: Bend Your Front Knee
Bend your right knee directly over your ankle, aiming to bring your thigh parallel to the floor. Keep your back leg straight and strong.
Step 4: Square Your Hips
Rotate your hips to face forward over your front leg. Place your hands on your hips to help square them, then engage your back leg to maintain stability.
Step 5: Raise Your Arms
Sweep your arms up overhead, palms facing each other or touching. Lift your chest and hold for 30 seconds to 1 minute, then repeat on the other side.
Research demonstrates that individuals who practice yoga stretch exercises for just 20 minutes daily experience significant improvements in flexibility, balance, and overall physical function within eight weeks³.
6. Yoga Stretch for Lower Back Relief
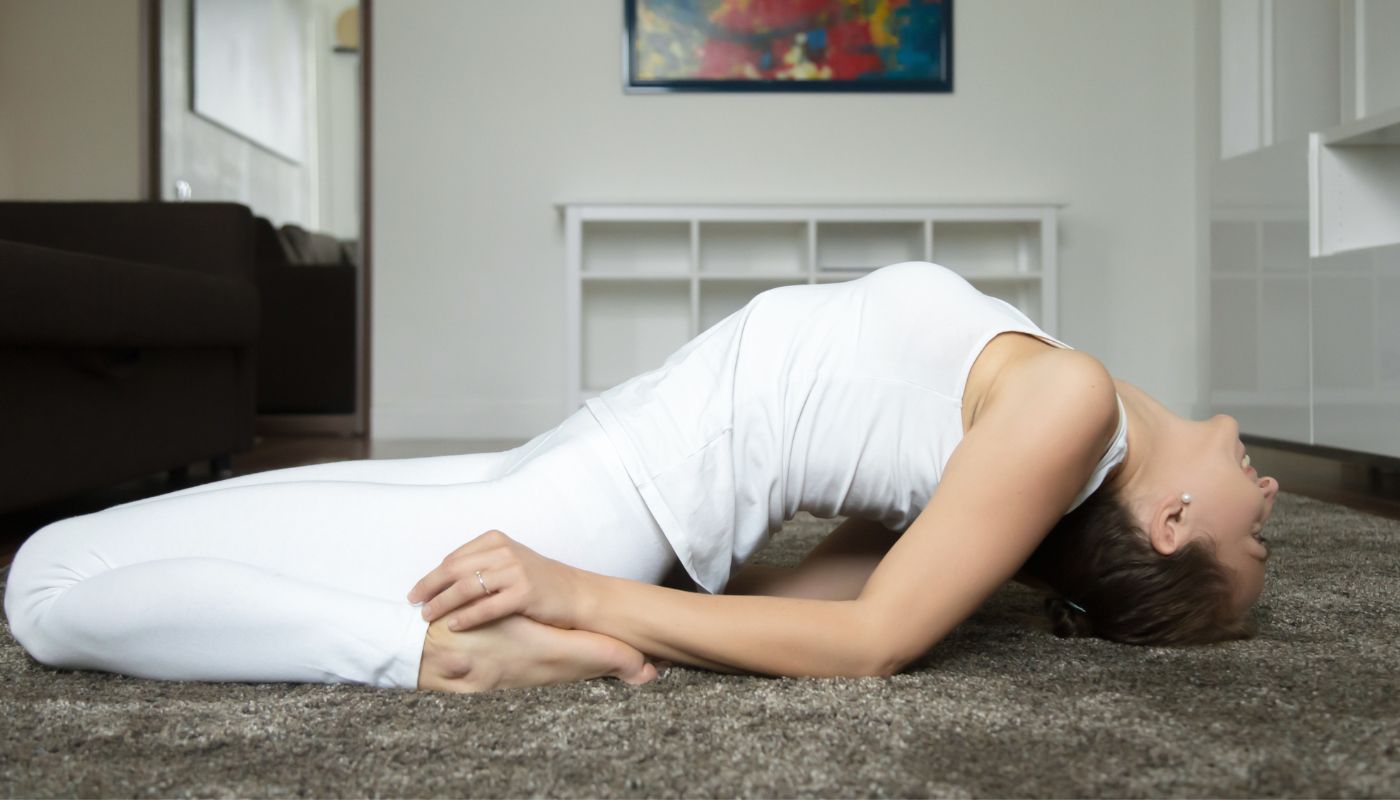
Gentle spinal twists, such as the seated spinal twist (Bharadvajasana), help decompress vertebrae and improve mobility throughout the spine. These movements should be performed slowly and mindfully, allowing the breath to guide the depth of the stretch.
Your effective Lower Back Relief sequence would include:
- Knee-to-Chest Pose: Gently releases tension in the lower back and promotes healthy hip flexion
- Happy Baby Pose: Provides deep hip opening while maintaining a safe, supported position for the spine
- Supine Figure-Four Stretch: Targets tight piriformis muscles that often contribute to lower back discomfort
- Gentle Bridge Pose: Strengthens glutes and hamstrings while promoting healthy spinal extension
- Legs-Up-the-Wall Pose: Offers complete relaxation while improving circulation and reducing inflammation
Regular practice of targeted yoga stretch for lower back sequences can reduce chronic pain intensity by up to 50% when combined with other wellness practices⁴.
7. Therapeutic Yoga Stretch for Sciatica Management
If you’re a beginner in the yogascapes, you can embark on:
- Basic Standing Poses: Mountain pose, tree pose, and warrior II provide stability training and leg strengthening
- Gentle Backbends: Cobra pose and camel pose preparation build spinal flexibility gradually and safely
- Fundamental Forward Folds: Seated forward fold and standing forward fold improve hamstring flexibility and spinal mobility
- Basic Twisting Poses: Seated spinal twist and reclined twist promote spinal health and digestive function
Restorative Positions: Child’s pose, legs-up-the-wall, and savasana teach proper relaxation and stress management
8. The Yoga Poses for Beginners
If you’re a beginner in the yogascapes, you can embark on:
- Basic Standing Poses: Mountain pose, tree pose, and warrior II provide stability training and leg strengthening
- Gentle Backbends: Cobra pose and camel pose preparation build spinal flexibility gradually and safely
- Fundamental Forward Folds: Seated forward fold and standing forward fold improve hamstring flexibility and spinal mobility
- Basic Twisting Poses: Seated spinal twist and reclined twist promote spinal health and digestive function
Restorative Positions: Child’s pose, legs-up-the-wall, and savasana teach proper relaxation and stress management
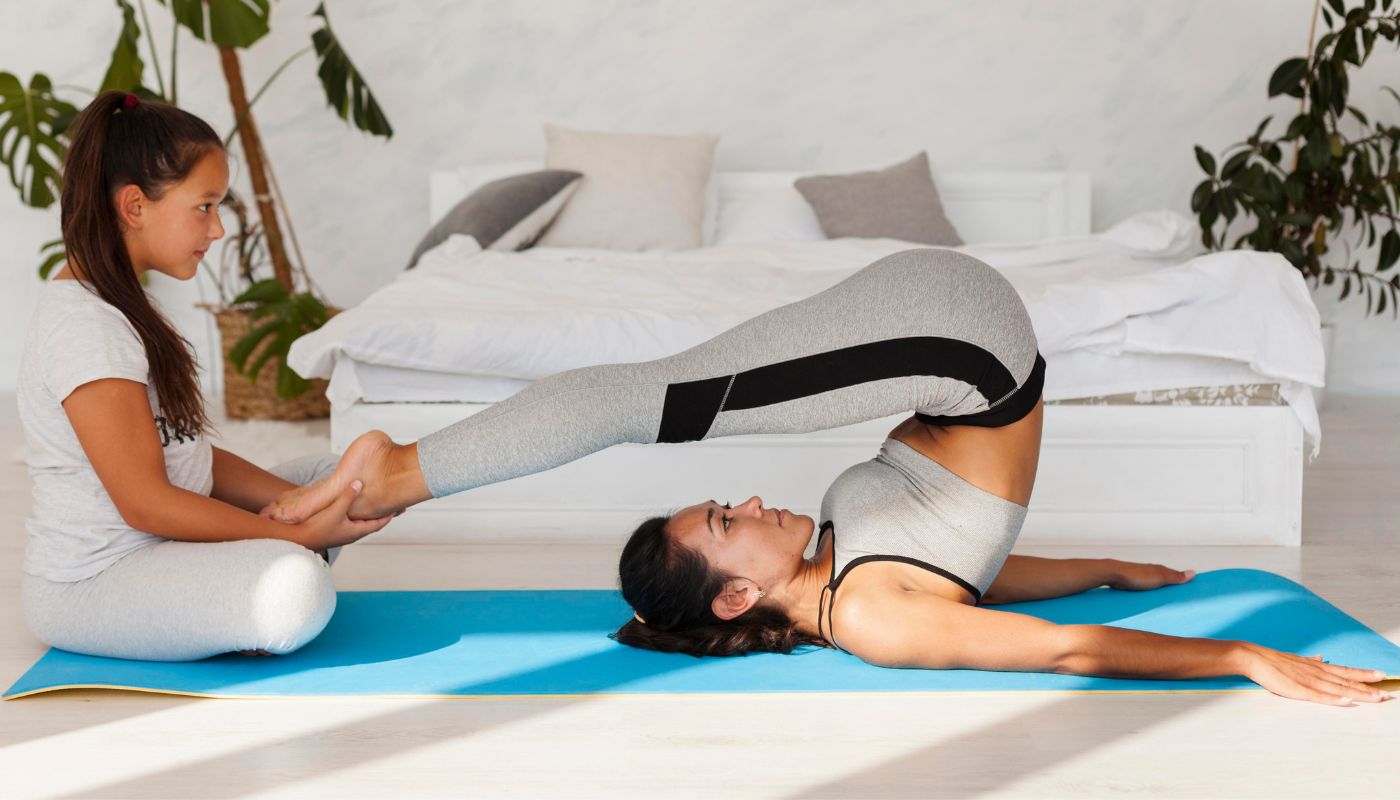
9. Yoga poses Couples Practice
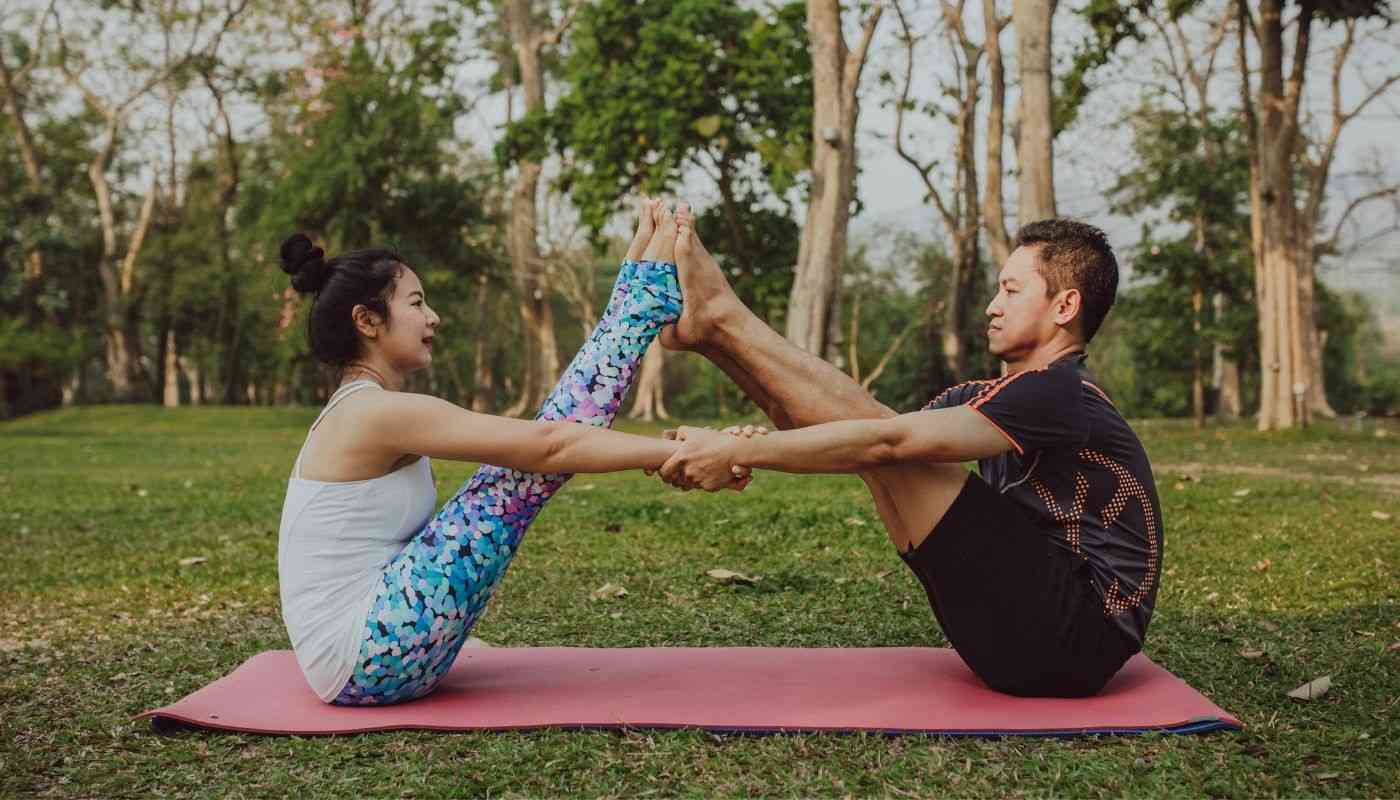
This practice has gained popularity as partners discover the benefits of shared mindfulness and physical support.
Popular Yoga Positions for Partners include:
- Partner Breathing: Sitting back-to-back, synchronising breath to create connection and calm
- Partner Forward Fold: One partner assists the other’s forward fold, providing gentle traction and support
- Double Child’s Pose: Partners rest in opposite directions, creating mutual support and grounding
- Partner Twist: Seated back-to-back twists that use gentle resistance to deepen the stretch
- Heart Opening Partner Pose: Partners support each other in backbends, creating safe space for vulnerability and openness
Yoga poses for 3 people add another dimension to group practice, requiring even greater communication and cooperation.
10. Advanced and Specialised Yoga Poses Techniques
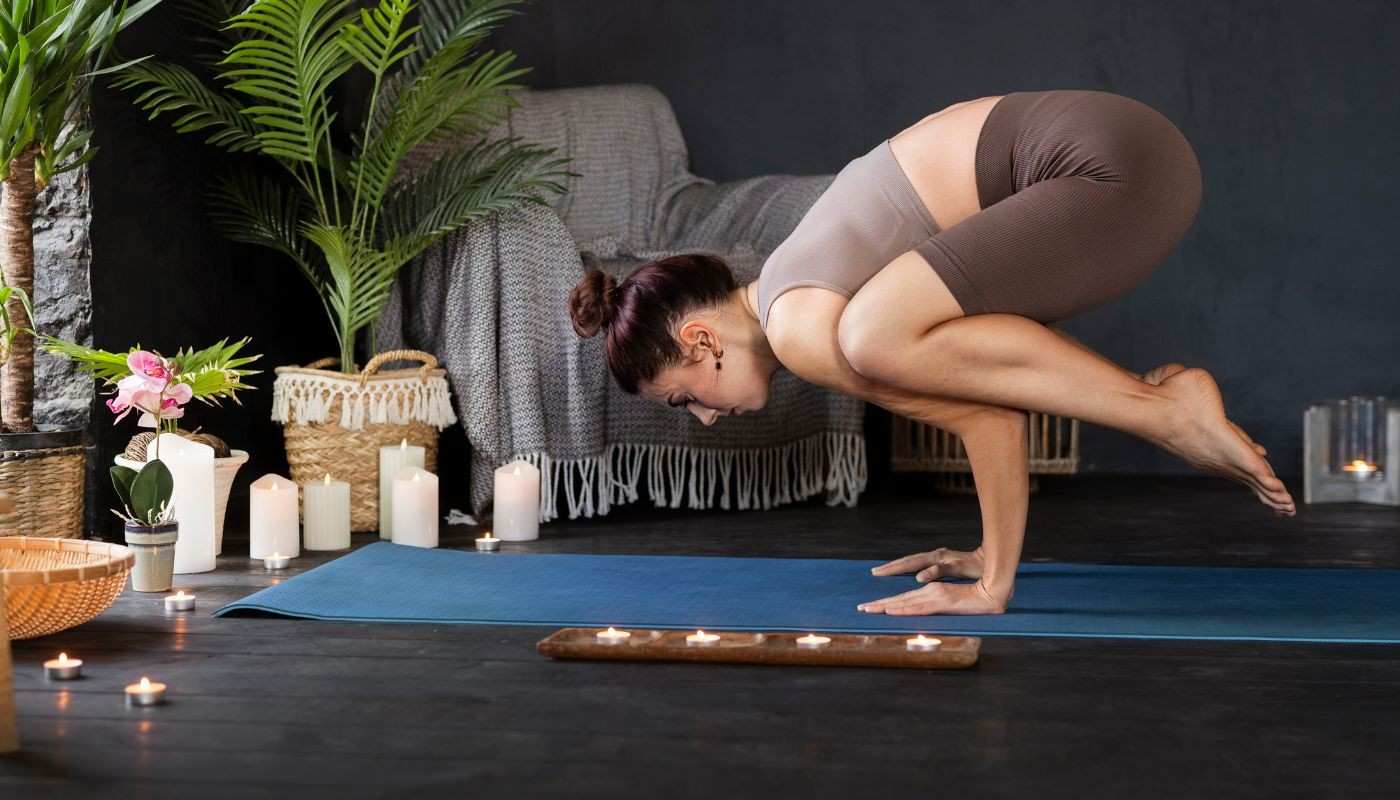
Headstand (Sirsasana) represents one of the most iconic yoga poses, headstand variations, offering numerous benefits including improved circulation, core strengthening, and mental focus. However, this pose requires significant preparation and should be approached gradually with proper wall support.
The wheel pose (Urdhva Dhanurasana) represents an advanced backbend that requires flexibility throughout the entire front body and significant strength in the legs, arms, and back. Yoga poses wheel variations should be preceded by thorough warm-up and appropriate preparatory poses.
More Key Tips:
- Yoga poses with straps and other props can make advanced poses more accessible while ensuring proper alignment.
- Restorative yoga emphasises relaxation, healing, and nervous system regulation through supported poses held for extended periods. Yoga poses restorative practices have been shown to reduce cortisol levels by up to 25% and significantly improve sleep quality when practiced regularly⁵.
- Specific therapeutic applications include yoga poses gas relief sequences that combine gentle twists and knee-to-chest variations to support digestive function. These poses can be particularly helpful after meals or during times of digestive discomfort.
- Morning practices often emphasise energising poses and sequences that prepare the body and mind for the day ahead. Evening routines typically focus on relaxing poses that help transition from daily activities to restful sleep.
- Yoga poses on bed variations can be particularly helpful for those with limited mobility or energy, allowing practice to continue even during challenging times. Simple stretches and breathing exercises performed in bed can provide significant benefits for both physical and mental well-being.
- The integration of different yoga stylessuch as combining energising vinyasa sequences with calming restorative posescreates balanced practices that address multiple wellness needs within a single session.
References:
- American Journal of Preventive Medicine, 2017: “Effects of Yoga on Chronic Pain Management”
- International Journal of Yoga Therapy, 2019: “Injury Prevention in Yoga Practice”
- Journal of Physical Therapy Science, 2020: “Eight-Week Yoga Intervention Outcomes”
- Clinical Journal of Pain, 2018: “Yoga for Lower Back Pain Relief”
- Journal of Alternative and Complementary Medicine, 2021: “Restorative Yoga and Stress Hormone Reduction”