
Written by: Aditi Koli, Content Writer
Reviewed & Edited by: Dr. Dooa Arif, Content Strategist
Estimated Reading Time: 8 minutes
TL;DR
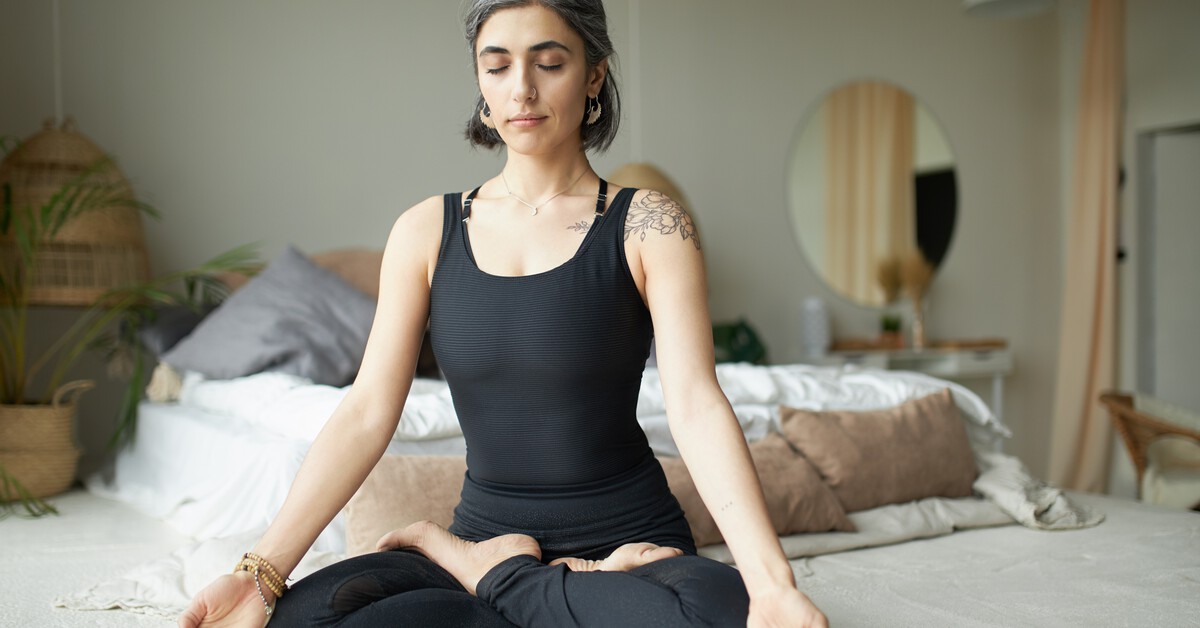
Lotus pose, or Padmasana, is yoga’s ultimate symbol of balance and inner stillness. It’s revered not just for flexibility but for the meditative focus it cultivates. Physically, it opens the hips, strengthens posture, and supports long, stable sitting-ideal for mindfulness and breathwork. The pose demands significant hip mobility and knee stability, so a gradual 12-week progression with preparatory poses like Butterfly and Half Lotus is key. When practised safely, it enhances circulation, steadies the mind, and deepens meditation. Though not accessible for everyone, it remains yoga’s timeless emblem of harmony between body and spirit.
The lotus pose, known as Padmasana in Sanskrit, represents one of yoga‘s most recognizable and spiritually significant postures. This iconic seated position derives its name from the lotus flower-a sacred symbol in Eastern philosophy representing purity, enlightenment, and spiritual awakening emerging from muddy waters.
Traditional yogic texts describe Padmasana as the destroyer of all diseases, emphasizing its role beyond mere physical positioning into comprehensive wellness practice. Ancient practitioners recognized this posture’s capacity to create stable foundations for extended meditation sessions, allowing consciousness to transcend bodily awareness whilst maintaining alert presence.
Deities and enlightened beings are frequently depicted seated in this position, suggesting its association with divine consciousness and spiritual attainment. This iconography reinforces the lotus pose’s status as more than physical exercise-it represents a gateway to contemplative states.
Contemporary research validates traditional claims regarding Padmasana’s neurological benefits. Studies demonstrate that stable seated postures like the lotus position enhance prefrontal cortex activity associated with sustained attention and emotional regulation, providing scientific foundation for centuries of meditative application¹.
In Yoga How Is The Lotus Position Performed?
Understanding proper technique proves essential for safe lotus practice. The yoga poses for lotus requires systematic progression respecting individual anatomical variations and flexibility limitations.
Step-by-Step Lotus Position Instructions:
- Begin seated with legs extended forward in Staff Pose (Dandasana)
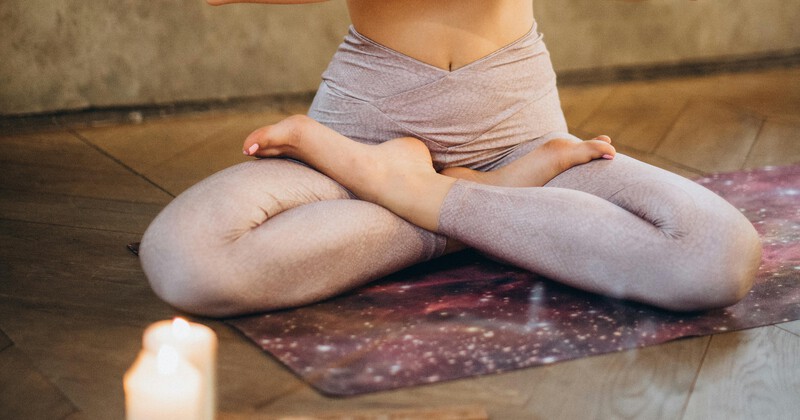
- Bend your right knee, drawing the foot toward your body, and place your right foot on your left thigh with sole facing upward
- Bend your left knee and carefully place your left foot on your right thigh, again with sole facing upward
- Both knees should rest on the floor whilst sitting bones remain grounded
- Rest hands on knees in your chosen mudra, maintaining an elongated spine throughout the hold
Critical alignment principles include external hip rotation originating from the hip joint rather than knee torque. The folding action must occur at the hip socket, protecting knee integrity through proper biomechanical sequencing. Many practitioners mistakenly force rotation through knee joints, creating injury risk that undermines long-term practice sustainability.
Breath awareness during position entry provides essential feedback. Restricted breathing signals excessive strain, indicating the need for modification or preparatory work before attempting full expression. Progressive practice honours individual starting points whilst building toward advanced variations (like Half Lotus or Bound Lotus) through patient, consistent effort.
Advanced practitioners may maintain this position for 30 minutes or longer during meditation sessions, though beginners should start with brief holds of 1-2 minutes, gradually increasing duration as hip mobility improves.
Key Takeaways: Proper lotus execution requires external hip rotation originating from hip sockets, not knee joints.
Anatomical Prerequisites
The pose demands exceptional hip mobility, particularly external rotation capacity. Hip socket depth and femoral structure significantly influence accessibility-research shows skeletal variations account for capability, meaning some practitioners may never safely achieve full expression despite dedicated preparation².
Flexibility in hip external rotators, adductors, and hip flexors determines comfort levels. Tight muscles restrict the external rotation necessary for knees reaching the floor. Ankle mobility also matters, allowing feet to rest comfortably on opposite thighs. Pre-existing knee injuries contraindicate practice, as the position stresses joint structures requiring healthy, stable knees for safe execution.
Key Takeaways: Pose accessibility depends on skeletal hip architecture, soft tissue flexibility, and joint health across hips, knees, and ankles. Anatomical variations mean some practitioners may never safely access full lotus despite dedicated preparation.
Progressive Schedule
Systematic preparation through structured sequencing builds requisite mobility whilst protecting joint integrity. This schedule provides evidence-based progression spanning weeks to months depending on starting flexibility.
Phase One (Weeks 1-4): Foundation Building
- Daily hip opening sequences: Butterfly Pose, Happy Baby, Pigeon Pose variations
- Hold each preparatory posture 2-3 minutes
- Focus on external rotation development through gentle, sustained stretching
- Practice Half Lotus (Ardha Padmasana) on both sides
Phase Two (Weeks 5-8): Progressive Loading
- Extend preparatory pose holds to 3-5 minutes
- Introduce Bound Angle forward folds with increased depth
- Practice transitioning between Half Lotus variations
- Begin brief Full Lotus attempts (30-60 seconds) if comfortable
Phase Three (Weeks 9-12): Integration
- Gradually increase Full Lotus hold duration
- Incorporate lotus variations into meditation practice
- Continue daily hip maintenance through preparatory sequences
- Monitor for any knee discomfort, adjusting intensity accordingly
Research demonstrates that structured progressive protocols reduce injury incidence compared to unguided attempts. This data emphasizes the importance of patient, systematic preparation over forceful positioning.
Consistency matters more than intensity. Daily 15-minute hip opening sequences yield superior results compared to sporadic longer sessions, as regular gentle stimulus promotes sustainable tissue adaptation without overwhelming recovery capacity.
Key Takeaways: Structured 12-week progression safely builds prerequisites through systematic hip opening and progressive loading.
Therapeutic Benefits and Contraindications
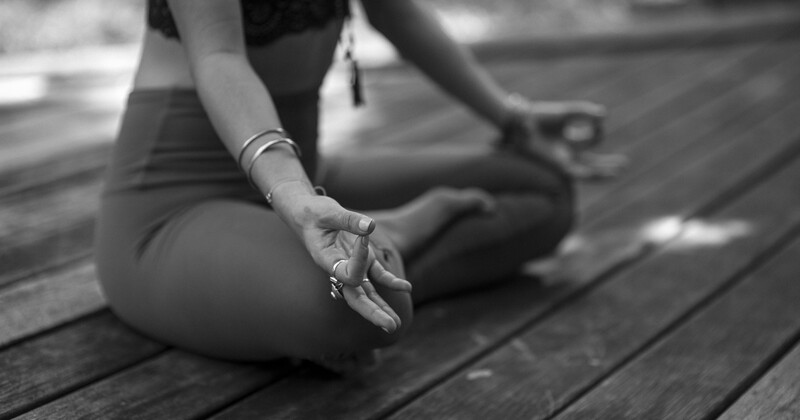
When safely accessed, the the pose offers numerous therapeutic applications alongside absolute contraindications requiring careful consideration.
Meditation enhancement represents the primary benefit. The stable triangular base created by this positioning allows extended sitting without postural collapse. Studies show that practitioners maintain meditation sessions longer in this pose compared to less stable seated positions.
Circulatory benefits include improved venous return from lower extremities and enhanced pelvic floor awareness. The crossed-leg configuration encourages blood flow redirection toward core organs whilst the upright posture maintains respiratory efficiency.
Contraindications include acute knee or ankle injuries, severe hip arthritis, sacroiliac joint dysfunction, and sciatica. Pregnancy in later trimesters also contraindicates practice due to pelvic pressure and circulation considerations.
Key Takeaways: This pose provides meditation stability and circulatory benefits when safely accessed, whilst absolute contraindications include knee injuries, severe hip restrictions, and certain conditions requiring modification or complete avoidance.
FAQs
Lotus pose variations include the Half Lotus (Ardha Padmasana) and Bound Lotus (Baddha Padmasana) – each offering different intensity levels and therapeutic applications.
Lotus yoga pose safety precautions include never forcing knees into position, ensuring rotation originates from hip joints rather than knees, avoiding practice with pre-existing knee or ankle injuries, warming up thoroughly with hip-opening preparatory poses, and immediately releasing the position if sharp pain occurs.
References
- Goodrick, M., Kolosovas-Machuca, E. S., & Guevara, E. (2025). Yoga asana increases prefrontal cortex activity and reduces resting-state functional connectivity. Complementary Medicine Research, 32(3), 214–223 https://karger.com/cmr/article/32/3/214/924572/Yoga-Asana-Increases-Prefrontal-Cortex-Activity
- Sweet, D. (n.d.). Human anatomical variation and its effects on yoga practice [Presentation]. Prezi. Retrieved 13 October 2025 Human Anatomical Variation and Its Effects on Yoga Practice by Danielle Sweet on Prezi
Get in Touch with Us
We’d love to hear from you—share your thoughts or ask a question!